
This is a rare scenario which we might face when not using any IDE or Source Control as part of the Salesforce Development.
In order to Delete Apex Classes / Apex Triggers from Production directly using Workbench, Follow the steps from this post and complete your task efficiently.
- Open Notepad
- Copy the below text and save it as “package.xml” (All files).
(Update the Version number accordingly)
<?xml version="1.0" encoding="UTF-8"?>
<Package xmlns="http://soap.sforce.com/2008/04/metadata">
<version>50.0</version>
</Package>
3. Create another file, copy the below text and save it as “destructiveClasses.xml” (All files).
(Update the Version number accordingly)
<?xml version="1.0" encoding="utf-8"?>
<Package xmlns="http://soap.sforce.com/2008/04/metadata">
<types>
        <members>Class1</members>
	<members>Class2</members>
	<name>ApexClass</name>
</types>
<types>
        <members>Trigger1</members>
	<members>Trigger2</members>
	<name>ApexTrigger</name>
</types>
<version>50.0</version>
</Package>
The above file is based on assumption that you want to delete 2 Apex Classes and 2 Apex Triggers. Adjust based on your requirement.
Note: File names should be as mentioned in Point 2 and Point 3
4. Create a new folder with Name: “deleteClasses” and Drag & Drop the above 2 files.
5. Open the folder and Select those 2 files > Right Click and Select “Send To Compressed Folder“
6. Name the Compressed folder as “package.zip“
7. Open Workbench > Login with Org Credentials
8. Click on Migrate Tab and Choose Deploy
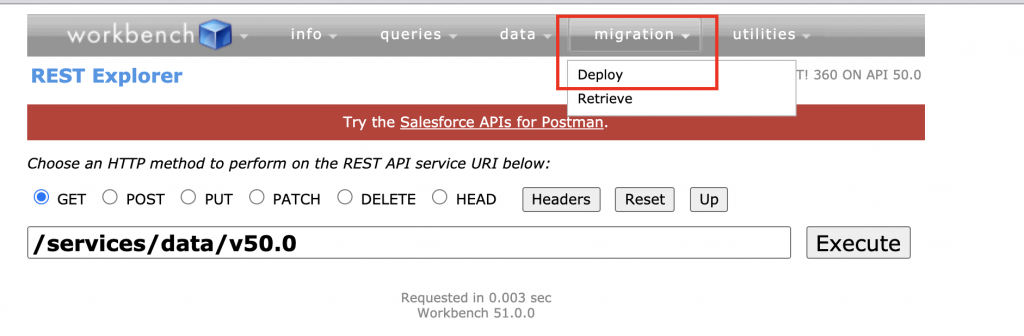
9. After clicking on Deploy
Select Check Only (For Validation before deployment)
Rollback On error
Single Package
RunLocalTests
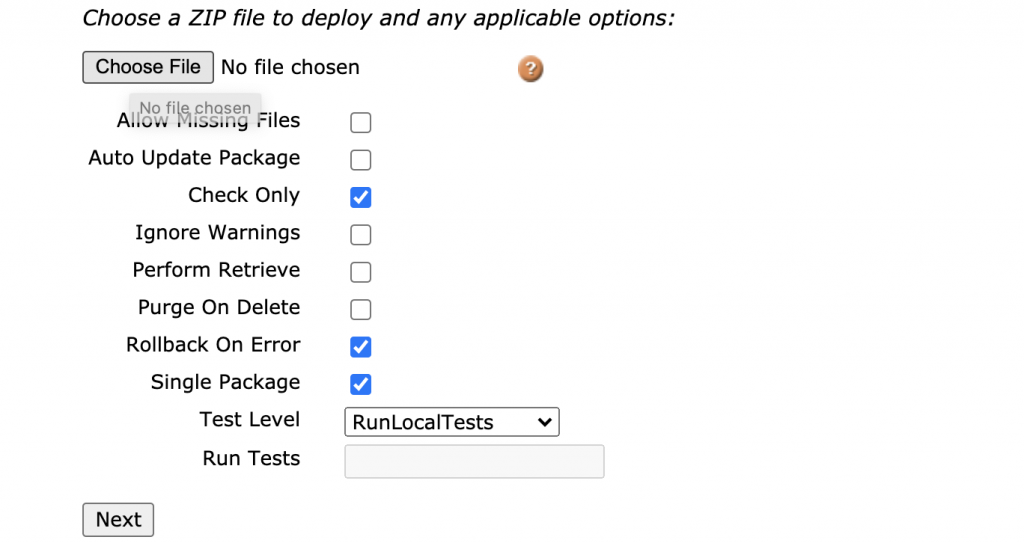
10. If the validation is Success, Uncheck the “Check only” checkbox and continue the deployment.
– Chandra [03/02/2021]