Here, I am going to present you the steps to connect the Sandbox to Visual Studio Code for connecting the Lightning web Component…
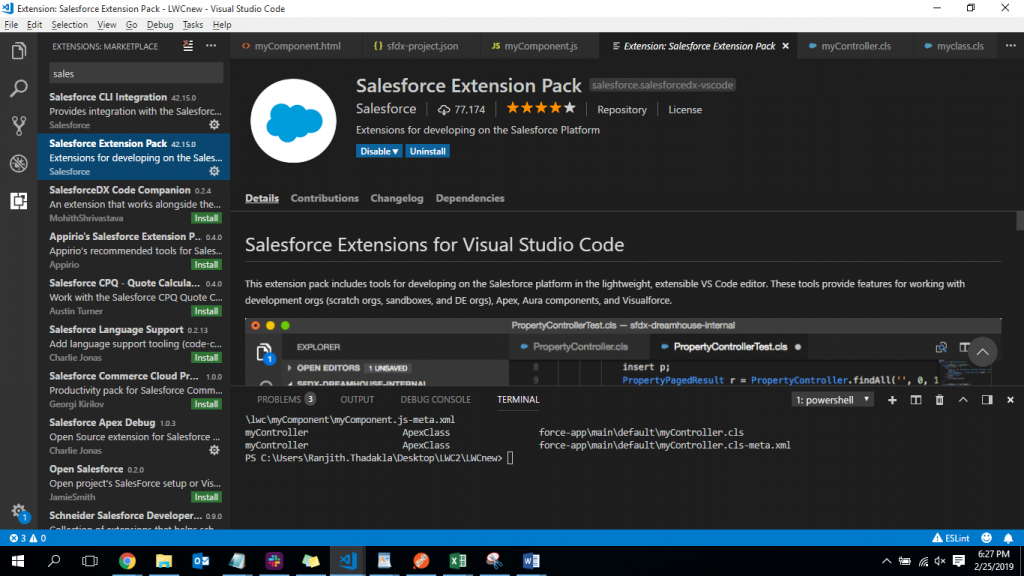
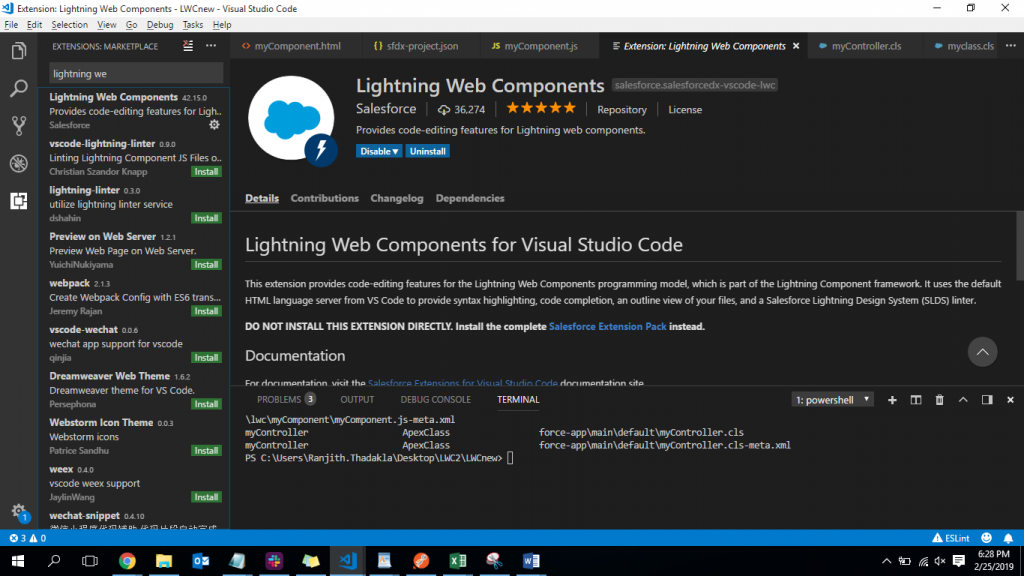
First step: Install Salesforce Extensions for Visual Studio Code


Login in to Sandbox and Use the below command in the Terminal
sfdx force:auth:web:login –setalias my-hub-org –instanceurl https://test.salesforce.com
After logging in…
- Use ctrl+shift+p
- Enter Sfdx:create Project
- Select the Source where you want to create Project.
To Create Lightning web Component use the Below Command in Terminal
sfdx force:lightning:component:create –type lwc -n myComponent -d force-app/main/default/lwc
AND Finally to deploy use the command below:
sfdx force:source:deploy -p force-app -u test@example.com(user name of the Sandbox)
Also, Follow the Link below for better experience on Lightning Web Component:
https://trailhead.salesforce.com/content/learn/projects/quick-start-lightning-web-components
-Ranjith T [02/25/2019]


Lightning Web component is very new and thanks for the brief information on how to connect visual stud code.